Why use GitHub?
I'm not sure how you share resources within your departments, but I should imagine it is much the same way as resources are shared in my school. The creator of the resource uploads them to a shared area on the school server and then informs everyone where they are (probably by email).
Of course teachers want to look at the resources at home and so download copies of the resources and store them locally on their laptops.
If I, as the resource author, update the original files to improve them or correct errors then I change them locally, delete the shared resource and then re-upload the resource. I then notify everyone by email that the resource has been updated. They delete their local copies and then download the original version.
Of course the teachers in my department might also want to make alterations. They change a file locally and then upload it to the shared area with a different file name. They notify me by email of the update, I review their updated file, approve of it, delete the original from the server and my local copy and re-download the resource.
Not only is this inefficient, but how often do we lose changes? How often do we see files called copy_of_copy_of_copy_of_worksheet1.doc? There must be a better way...
What is GitHub?
To answer that I'm first going to have to tell you about Git. Git is a tool that assists with version control and is used by programmers. Basically it allows you to have a bunch of files and go back and look at previous states of those files from an earlier time, or to clone those files into a new branch and work on improvements.
GitHub is an on-line workspace that works with Git. It's that simple. But it can be used for so much more than simple version control. GitHub can be the place for you to share your resources with the world.
How can I use GitHub?
You can use GitHub to share your resources with other teachers. They'll be able to easily download your work, or transfer it to their own workspace. What's more, they can make improvements and ask you to merge their improvements back into your work. It's a win/win situation.
How do I use GitHub?
Just follow this simple guide and you'll be harnessing the power of GitHub in a few minutes.
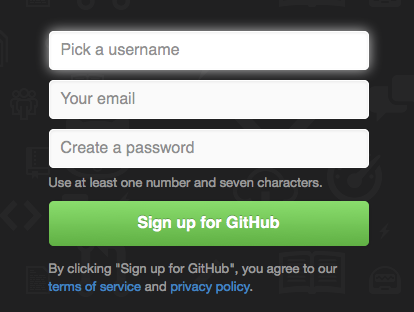
Create an account
- Goto www.github.com
- Sign Up
Create a repository
Your a teacher, not a hacker, so there's really no need to start messing around with command line Git. You're going to be using it though the website to start with and then an installable desktop app later on. First thing to do is create a repository.
- Click on the
Create a new repobutton

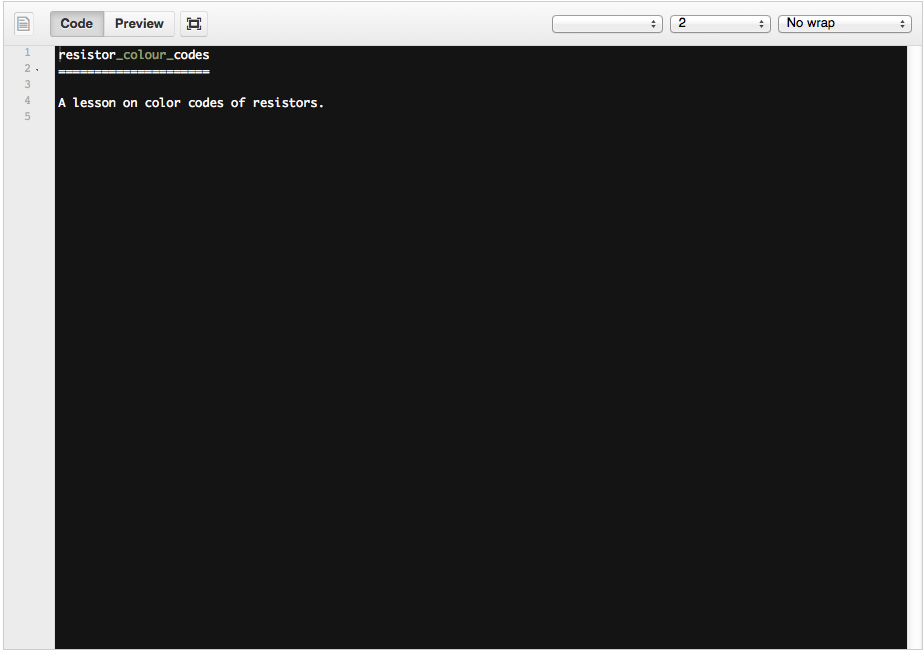
- Give your repository a sensible name and a description. I teach Systems & Control as well as Computing, so I'll make a resource on the exciting world of resistors.
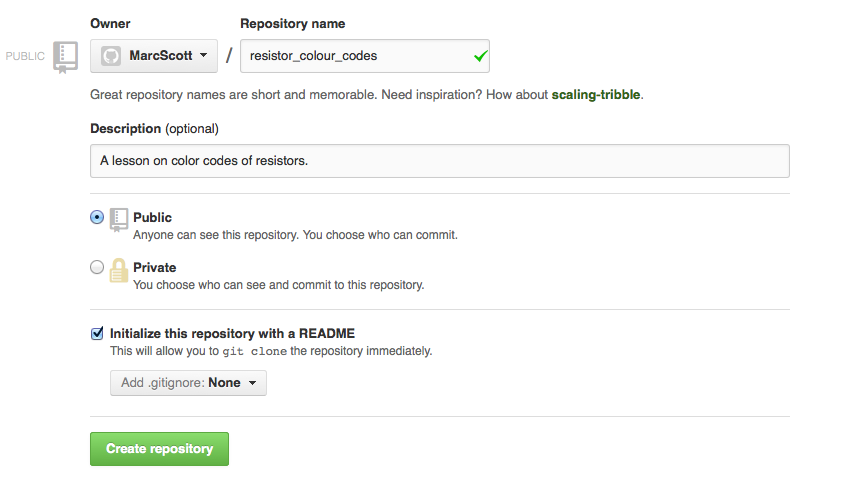
- Don't forget to check the "initialize with a Readme" check box
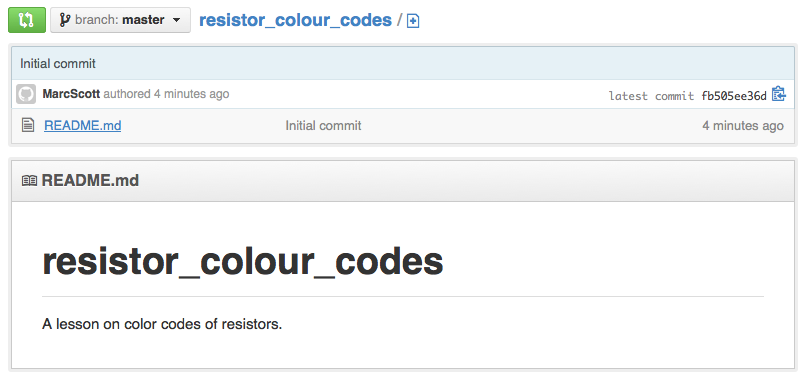
The README file
We've all seen README files before. They're normally used to give the user the required information to get started with a bit of software. On GitHub, the README is where you can explain what your resource is and how to use it. The README file will be the only file in your repo to begin with. Here's the tricky part - to edit the README you're going to have to know a little Markdown.
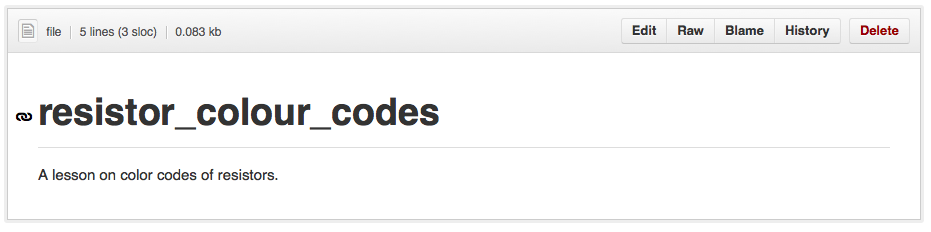
- Click on the README.md file in the repo.
- Then click on the Edit button
- You're going to be presented with an editor that you can write in. Go ahead and delete all the text that's in there. Then prepare to feel 1337...
- README files are written in Markdown. It's an easy way of generating HTML. This entire blog post is written in Markdown. You can get a full description of Markdown here but we want to get started quickly so bookmark the page and put "Learning Markdown" on your to-do list.
Markdown
Okay, here goes. Try copying and pasting the following into the Editor and then hitting the preview button.
# RESISTORS WTF!!!
## By An Author
### A converted academy resource
[Resistors](http://en.wikipedia.org/wiki/Resistor) are so exciting I can barely contain myself.

> WOW Resistors are great
1. They resist.
2. They have colours bands.
3. They are small
**Here are some codes**
|Colour|Multiplier|
|------|----------|
|Black |0 |
|Brown |1 |
|Red |2 |
|Orange|3 |
- Use this as a template or use the Daring Fireball link to create your own README file.
- Once you're done click the "Commit Changes" button (Commit is not the same as Save. Your changes are saved, but the old version is still there for you to go back to if you want.)

- Go back to your repo home page by clicking on the repo name at the top of the page.

- You should see your README proudly displayed.
Installing a GitHub app
We now need a way to interact with GitHub from our computers. I'll assume you're on a Windows machine, but the process is almost identicle for Mac users. If you're on Linux then I'm not going to patronise you as you're probably already comfortable in the terminal and you can go ahead and Google how to use Git.
- Goto the Windows download page or the Mac download page.
- Download the client and install and accept all the usual Terms & Conditions and allow the installation of dependencies like .NET.
(a note to Network Managers - if a teacher has directed you to this page after asking for permission to install this program then please don't be a dick. Seriously, are you that much of an IT-Nazi that you can't allow them to have this on your network? Millions of developers far more experienced than you use GitHub, so grow up and do the teachers in your school a favour.)
Loging in
- Once opened you should see a screen like this.
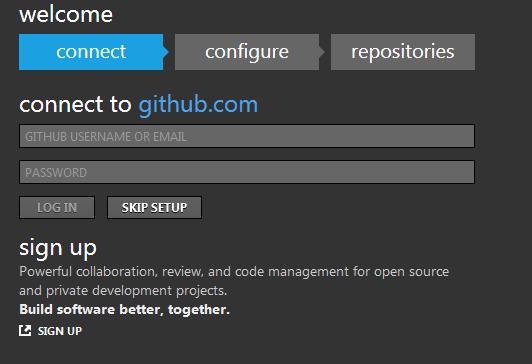
- Enter your GitHub login details.
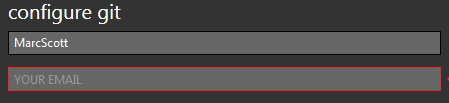
- I encountered a hitch here, as I didn't enter my email address. This is essential. If you're not given the option then goto
toolsand

enter your email address.
-
Back at the main screen you should see your available repos to clone.
 click the clone button.
 -
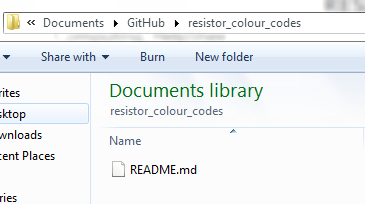
Now open up your Documents and you should see a new folder called GitHub, in there will be your cloned repo.
- Well done, you now have a local copy of your GitHub repository.
Adding and altering files.
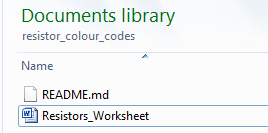
- Let's add a new document to the repository.
- Create a Word (or any other document) file. Throw in an appropriate question and save it to the newly created directory in your Documents.
- In the GitHub app, when you go back and look at your repo you should see a big yellow box telling you that you have uncommitted changes.

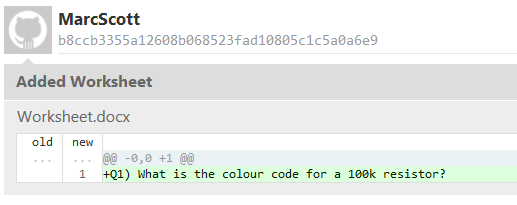
- Add a message detailing your changes and click
COMMIT - You should now be able to see the details of the changes.
- Click the
syncbutton at the top of the screen and the changes will be pushed to your repo on GitHub.com.
How to use GitHub with your team.
The great thing about GitHub is that your team can now, all, use the resource you've created and it will always be up-to-date. All they need to do is create their own GitHub accounts and then Fork your repo. This will create a copy of your repo in their workspace. It's all incredibly easy to do.
- Provide them with the URL for your GitHub repo. It'll be something like https://github.com/MarcScott/resistor_colour_codes.
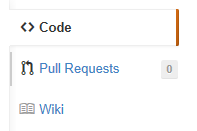
- All they need to do (once they have an account setup) is to goto the URL and click the
Forkbutton.

- They now have a fork of your repo. If they to have the GitHub app installed, then they can clone the repo onto their own machines.

- Anytime you make changes to the files in your repo, they will be able to see that alterations, additions and deletions have been made. All they need do is sync their fork of the repo and they'll have the changes on their local machines. But that's not all...
Pull requests
Here's the truly most useful aspect of GitHub - Pull requests. When a colleague of yours makes changes to a repo that you have control over, they can submit a Pull request. You then pull their changes into your repo and merge. This is an excellent method of collaboration and ensures everyone has an up-to-date repo.
1. Your colleague makes an alteration to one of your files (or adds/deletes a file).
2. In their GitHub app they can then Commit the changes.

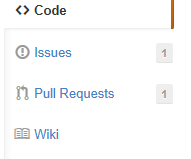
3. Let's switch back to the website now. Your colleague can go on-line and on the right hand side of their screen they can click on the Pull Requests option.
4. They then click the New pull request button, confirm it and write a message detailing their change.


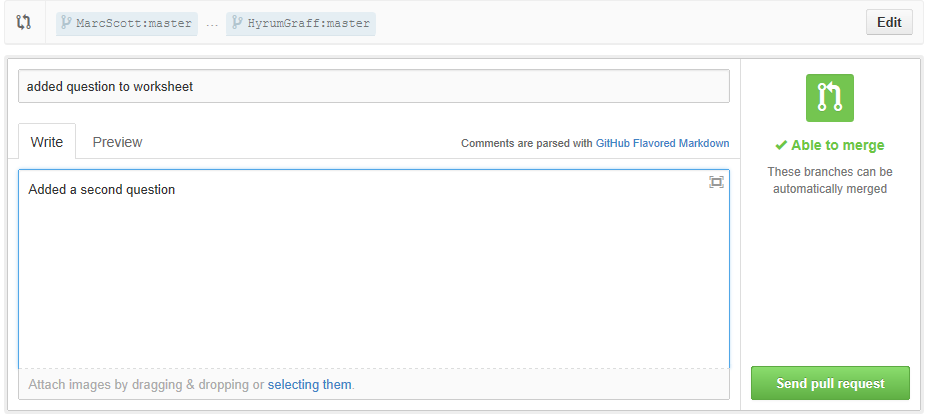
5. You should receive an email with the Pull request and it will also be visible on the website.
6. You can then merge the pull with your repo and just like that you (and all others) have a repo with the updated files.

Well that's it and I've barely scratched the surface of all Git can do. I've talked nothing of version control or multiple branches, not to mention using GitHub.io to host your own static website. All these and much, much more can be found by on-line searches. Please comment below if I've made any mistakes or you think there's a better way.